
Before You Plant Anything: An Outdoor Space Assessment Checklist
Sun exposure, soil drainage, frost dates, and water access all shape what will grow well. Use this checklist to evaluate your yard before buying a single plant.
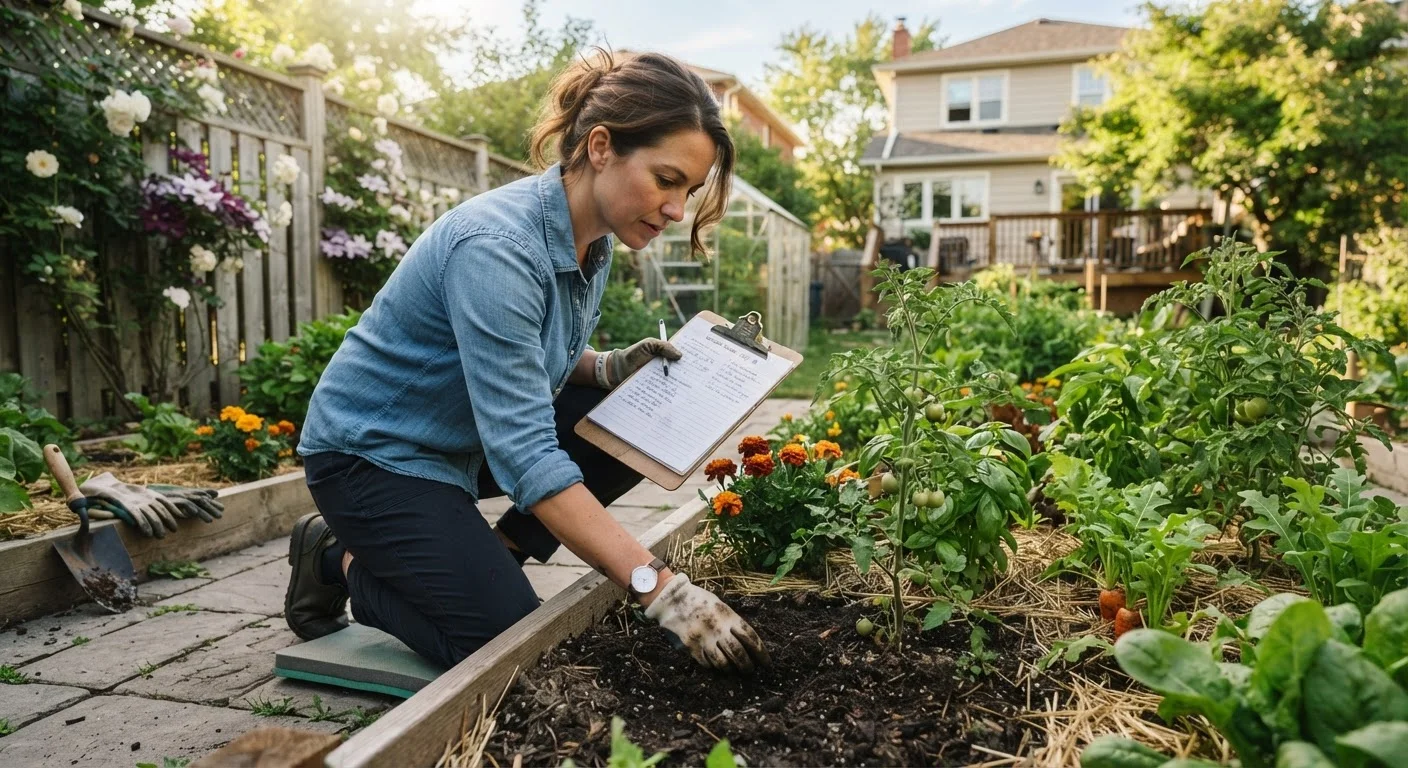
Photo: HorizonMetric.com | One Destination For Everyday Insights editorial
—— In This Article
Key Takeaways
- Sunlight patterns, soil drainage, and frost dates must be assessed before selecting any plants.
- Matching plants to your actual site conditions is the single biggest factor in garden success.
- Water access and soil quality can often be improved — but only if you know where you're starting.
- Microclimates within your yard can vary significantly, affecting what grows where.
- A one-time assessment saves repeated cycles of purchasing, planting, and losing plants.
Why a Pre-Plant Assessment Matters
Most struggling gardens share one root cause: plants chosen before the yard was truly understood. A rose that needs full sun planted in afternoon shade, a vegetable bed placed in a low spot that pools water after every rain, a hedge that outgrows its space in two seasons — these are avoidable outcomes.
This checklist walks you through the key site factors that determine what will grow well in your outdoor space. Work through it once before you spend a dollar at the garden center, and you'll make every purchase with far more confidence. Bring a notebook, a simple compass app on your phone, and about an hour on a clear day.
Compass app (smartphone)
Determines cardinal directions so you can accurately assess which way planting areas face and anticipate sun patterns.
Notepad or garden journal
Records sunlight hours, drainage observations, measurements, and other site data you'll refer back to when selecting plants.
Tape measure
Provides accurate bed dimensions so you can match plant mature sizes to available space.
Soil test kit or extension service mailer
Reveals pH, nutrient levels, and organic matter content so you can amend soil appropriately before planting.
Screwdriver or soil probe
A quick way to test soil compaction — if a standard screwdriver won't push 6 inches in easily, the soil needs attention.
Camera or phone photos
Documents existing conditions, sun positions, drainage behavior, and layout for easy reference while planning.
The Assessment Checklist
Work through each group below in the order listed. Some items require you to return at different times of day or after a rain event — note those and follow up before making final planting decisions.
Sunlight Assessment
Soil Drainage and Quality
Water and Irrigation Access
Climate and Frost Dates
Space and Scale
Existing Vegetation and Site Hazards
Don't Skip the Utility Line Check
Before digging any planting hole deeper than 12 inches — including for trees, shrubs, or raised bed frames — call 811 to request a free utility line marking. Striking a buried gas, electric, or water line is a serious safety hazard and can result in costly repairs. This service is free, required by law before excavation in most U.S. states, and typically completed within a few business days of your request.
Avoid Amending Soil Without a Test First
Adding lime, sulfur, or fertilizers without knowing your soil's current pH and nutrient levels can make conditions worse, not better. Over-liming, for example, can lock out nutrients even when they're present in the soil. A simple soil test — available inexpensively through most county extension offices — removes the guesswork and tells you exactly what, if anything, needs to be adjusted.
Putting Your Findings to Work
Once you've completed the checklist, you'll have a clear picture of what each area of your yard can realistically support. Group your notes by zone — sunny and dry, shady and moist, high-traffic, etc. — and use those profiles when selecting plants rather than choosing plants first and hoping for the best.
If your soil drainage is poor, raised beds or amended planting areas are practical solutions worth exploring before you plant. If certain areas receive fewer than four hours of direct sun, steer toward shade-tolerant species and ground covers rather than fighting conditions that won't change.
Work With Your Site, Not Against It
No yard assessment will reveal perfect conditions, and that's completely normal. The goal is not to find an ideal site but to understand the site you have. Every challenge — heavy clay, deep shade, steep slope — has plant and design solutions. Trying to force plants into mismatched conditions through repeated soil amendments or supplemental lighting is rarely sustainable and often disappointing. Selecting plants suited to actual conditions, even modest ones, consistently outperforms the alternative.
Native plants adapted to your region's climate are often the most forgiving starting point, particularly if you're working with challenging soil or irregular rainfall. Your local cooperative extension service — a network of land-grant university offices found in most U.S. counties — can provide region-specific planting guides, frost date tables, and soil-testing resources at little or no cost.
Revisit this checklist each time you plan to expand or redesign a planting area. Conditions change as trees mature, structures are added, or drainage patterns shift. A yard that had full sun five years ago may now be partially shaded — and that changes everything.

Home Editorial Team
Home Editorial Team is the collective byline for our editorial team and contributor network. Articles published under this byline or an editorial pen name are researched, written, and reviewed according to our editorial standards for clarity, consistency, and independence before publication.
View author profile