
Drywall Repair: Patching Holes Without Calling a Pro
From nail pops to fist-sized holes, learn the right patching technique for every type of drywall damage.
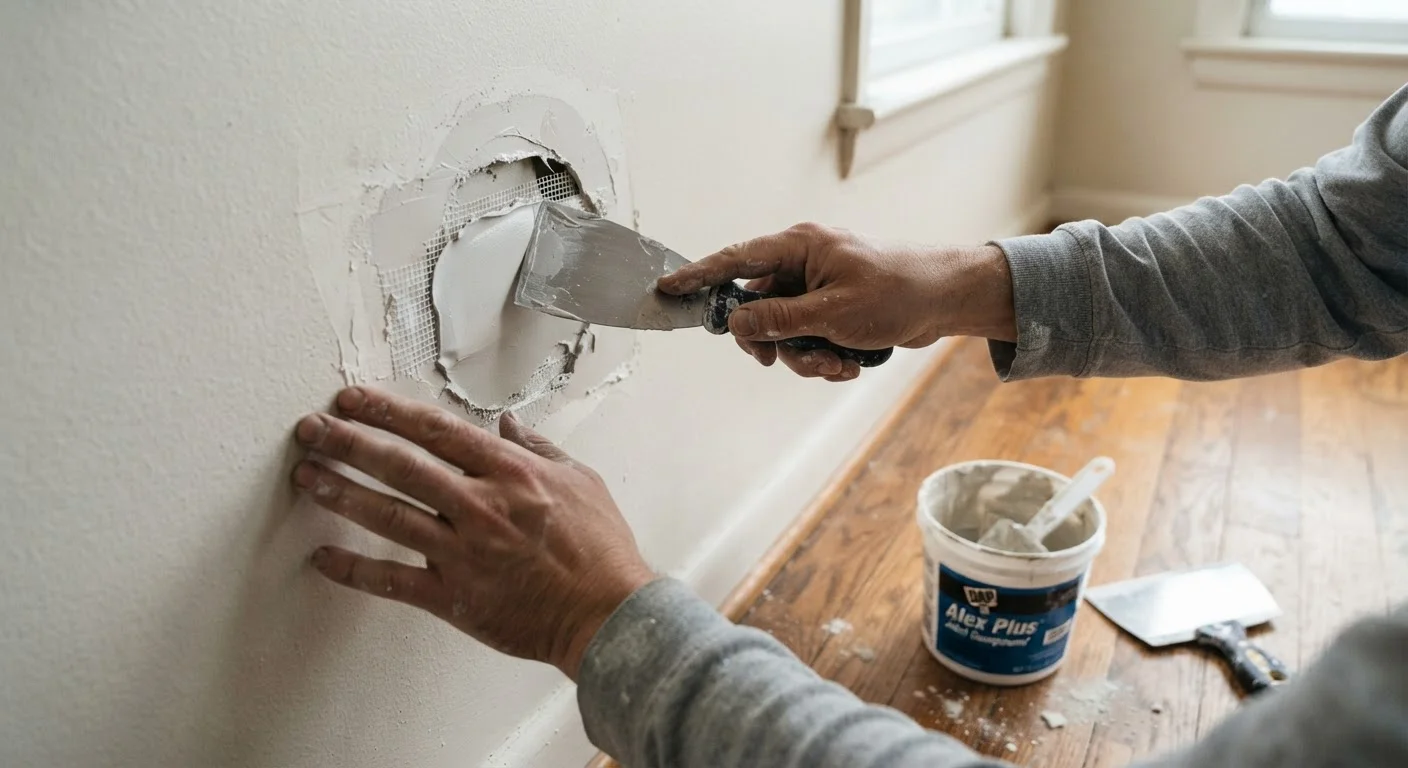
Photo: HorizonMetric.com | One Destination For Everyday Insights editorial
—— In This Article
Key Takeaways
- The right patching method depends on the size of the hole — small, medium, or large.
- Most drywall repairs require at least two coats of joint compound with drying time between each.
- Sanding and priming before painting are essential for a smooth, invisible finish.
- Large holes over six inches may need a backer board or drywall panel for proper support.
- Always check for wiring or plumbing inside the wall before cutting into drywall.
Choosing the Right Repair Method
Not all drywall damage is the same, and using the wrong repair approach is the most common reason patches look obvious after painting. The size of the hole determines your technique:
- Nail holes and small dings (under ½ inch): A single application of spackling compound or lightweight joint compound, smoothed flush with your finger or a putty knife, is all you need.
- Medium holes (½ inch to 4 inches): A self-adhesive mesh patch or a California patch (using a piece of drywall with paper backing as a built-in anchor) provides the structure the repair needs.
- Large holes (4 to 6 inches and beyond): These require a backing board screwed inside the wall cavity, or a replacement drywall piece cut to fit, secured with screws.
Before you reach for any tools, scan the repair area with a stud finder and look for any switch plates or outlet covers nearby. If your hole is near electrical wiring or plumbing, stop and consult a licensed professional before proceeding.
What you will need
Materials You'll Need
Gathering everything before you start saves trips to the hardware store mid-project. The list below covers repairs ranging from nail holes up to about 6-inch patches.
Putty knife or drywall knife (6-inch)
Used to apply and smooth joint compound over the patch area.
Joint compound (pre-mixed, lightweight)
The primary filler material used to cover the patch and create a smooth surface.
Self-adhesive mesh drywall patch
Provides a backing structure for medium-sized holes before compound is applied.
Sandpaper (120-grit and 220-grit)
Smooths dried compound between coats and after the final coat.
Drywall primer
Seals the porous patched surface so paint adheres evenly without flashing.
Backer board or scrap wood (1×3 or 1×4)
Provides internal structural support for larger holes that lack wall stud backing.
Stud finder
Locates studs and wiring behind the wall before you cut or drill.
For holes larger than 6 inches, you may also need drywall screws, a drywall saw, and additional drywall panels cut to size. When in doubt about what structural support your repair needs, a general contractor can assess the damage before you begin.
Step-by-Step Patching Instructions
Follow these steps in order. Rushing the drying stages is the single biggest mistake DIYers make — patience between coats produces a finish that blends seamlessly with the surrounding wall.
Clean and Prepare the Damaged Area
Use a putty knife to remove any loose paper facing, crumbling gypsum, or protruding drywall edges around the hole. The surface must be stable before anything is applied. For nail pops, drive the nail slightly below the surface with a hammer and nail set — do not remove it.
Apply the Patch Backing (for holes larger than ½ inch)
For medium holes, center a self-adhesive mesh patch directly over the opening and press firmly. For larger holes, cut a piece of scrap wood slightly longer than the hole's width, slip it inside the wall cavity, and secure it by driving drywall screws through the surrounding drywall into the wood. Cut a drywall piece to fit the opening, then screw it to the backer board.
Apply the First Coat of Joint Compound
Load your putty knife with a modest amount of pre-mixed joint compound. Spread it over the patch in thin, even strokes, feathering the edges outward several inches beyond the repair so the transition is gradual. Scrape off any ridges.
Let It Dry Completely, Then Sand
Allow the first coat to dry fully — typically 4 to 8 hours depending on humidity and temperature. The compound will shift from dark to a uniform light color when dry. Sand lightly with 120-grit sandpaper, then wipe away dust before proceeding.
Apply a Second (and If Needed, Third) Coat
Apply a second coat of joint compound, feathering it slightly wider than the first. Most repairs need two coats; deeper patches or textured walls may need three. After the final coat dries completely, sand smooth with 120-grit paper, then finish with 220-grit for a finer surface.
Prime and Paint the Patched Area
Apply drywall primer over the patched surface and let it dry per the manufacturer's drying time. Once the primer is set, paint with your wall color. Apply at least two finish coats of paint for the best color and sheen match with the surrounding wall.
Work in Thin Layers for Best Results
The temptation to fill a hole in one thick coat is understandable, but joint compound shrinks as it dries. Multiple thin coats — each dried and lightly sanded — produce a far flatter, more durable surface than a single heavy application. Plan for at least two coats on any repair larger than a nail hole.
Finishing and Painting for a Seamless Look
Once your final coat of joint compound is fully dry and sanded smooth, run your hand across the surface. If you can feel any ridge where the patch meets the wall, sand lightly with 120-grit sandpaper and wipe away dust with a damp cloth.
Prime before you paint. Joint compound is porous and will absorb paint unevenly — called flashing — if you skip the primer coat. Apply a drywall primer or PVA primer to the patched area, let it dry completely, then paint to match the surrounding wall.
Matching paint color can be tricky if your walls have aged. Bring a paint chip or a photo of the wall to your local paint supplier for color matching. If the original paint was textured (orange peel, knockdown, or popcorn), practice the texture technique on a scrap piece of drywall first before applying it to the repair.
Skipping Primer Causes Visible Flashing
Painting directly over joint compound without primer is one of the most common finishing mistakes. The compound absorbs paint at a different rate than surrounding drywall, leaving a dull or matte spot — called flashing — that's visible even after the paint dries. Always prime patched areas before applying finish paint.

Home Editorial Team
Home Editorial Team is the collective byline for our editorial team and contributor network. Articles published under this byline or an editorial pen name are researched, written, and reviewed according to our editorial standards for clarity, consistency, and independence before publication.
View author profile