
The Beginner's Path to Laying Peel-and-Stick Backsplash Tile
One of the most approachable kitchen upgrades available. Learn surface prep, layout planning, and installation from scratch.
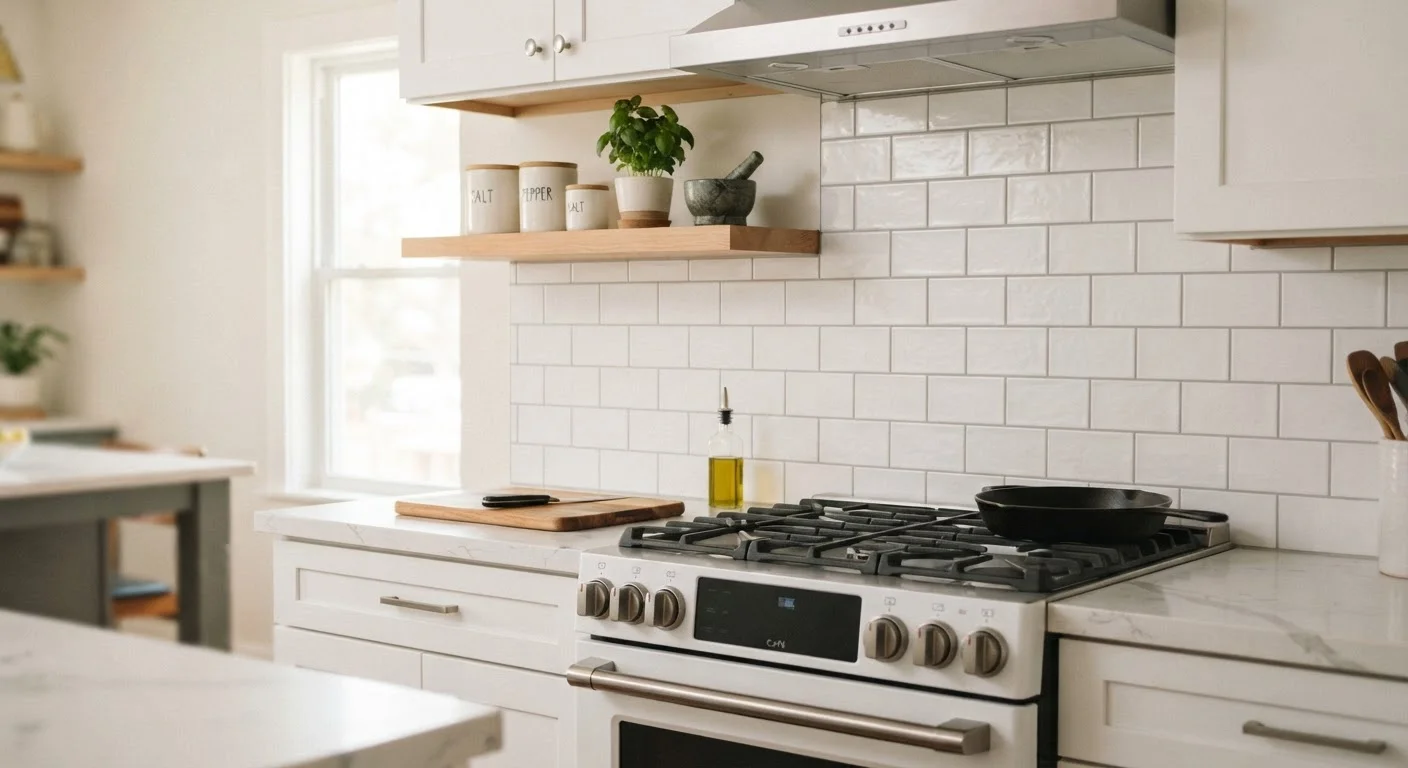
Photo: HorizonMetric.com | One Destination For Everyday Insights editorial
—— In This Article
Key Takeaways
- Peel-and-stick backsplash tile requires no mortar, grout, or special tools to install.
- Proper surface prep — clean, dry, and flat — is the single most critical step for good adhesion.
- Dry-laying your tile pattern before peeling any backing prevents costly mistakes.
- Trim tiles along edges and outlets with a utility knife or scissors for a professional finish.
- Most peel-and-stick tiles are moisture-resistant but not fully waterproof — avoid submerged surfaces.
What Is Peel-and-Stick Backsplash Tile?
Peel-and-stick backsplash tile — sometimes called self-adhesive tile — is a wall covering with a factory-applied adhesive backing protected by a peel-off liner. You press it onto a prepared wall surface, and it bonds without mortar, grout, or specialized tools. Materials range from vinyl and PVC to aluminum composite and even real stone veneer mounted on an adhesive mat.
The appeal is straightforward: a kitchen that looks freshly renovated in an afternoon, with no contractor required and minimal cleanup. It's especially popular with renters, first-time homeowners, and anyone who wants a reversible upgrade. If you're curious how self-adhesive options compare to more permanent materials in other areas of your home, our article on tile vs. luxury vinyl plank for wet areas covers the broader trade-offs well.
Self-adhesive tile
A tile product with a pressure-sensitive adhesive already applied to the back, covered by a protective liner you peel off before installation.
Reference line
A level horizontal line drawn on the wall that acts as a guide to keep tile rows perfectly straight as you work.
Dry-lay
Arranging tiles in their planned pattern on a flat surface before adhering them to the wall, so you can spot problems before they're permanent.
Bullnose trim
A finishing strip — usually metal or PVC — used to cap the exposed edge of a tile installation for a neat, professional appearance.
Adhesive cure time
The period after installation during which the adhesive reaches its full bonding strength; disturbing the surface during this window can weaken the bond.
Preparing Your Wall Surface
Surface preparation determines whether your tile lasts two months or two years. The adhesive needs a wall that is clean, dry, smooth, and at room temperature.
- Clean thoroughly. Grease is the enemy of adhesion. Wipe the entire area with a degreasing cleaner and let it dry fully — at least 24 hours. Even invisible cooking residue will prevent the adhesive from bonding properly.
- Fill imperfections. Small holes or gouges in drywall should be patched and sanded flat. The adhesive will not bridge gaps — it will simply peel away from them over time.
- Check for moisture. Press plastic wrap against the wall and tape the edges. Wait 24 hours. If condensation forms underneath, there is a moisture issue that needs to be resolved before any tile goes up.
- Prime if needed. On fresh or unpainted drywall, apply a coat of primer and let it cure completely. This prevents the adhesive from soaking into the porous surface.
Don't Skip the Degreasing Step
Kitchen walls accumulate grease even when they look clean. Adhesive applied over any residue will begin to lift within weeks, often taking wall paint with it. Use a dedicated kitchen degreaser — not just soapy water — and allow the wall to dry completely before proceeding.
Planning Your Layout
A few minutes of planning prevents hours of regret. Before peeling a single tile, do the following:
- Measure your backsplash area in square feet and add roughly 10% for waste from cuts. Note the location of outlets, switches, and any obstacles.
- Find your center point. Measure the width of the wall and mark the horizontal midpoint with a pencil. Starting from the center produces a symmetrical pattern that looks intentional and professional.
- Draw a level horizontal reference line. Use a bubble level or laser level to mark a straight line across the wall at the height of one tile above the counter. This is your guide row — it keeps every row that follows from drifting crooked.
- Dry-lay the pattern on the counter or floor. Arrange your tiles in the planned configuration before installing anything. This reveals where partial tiles fall at the edges and lets you adjust the starting point to avoid awkward slivers.
Adjust Your Starting Point for Balanced Edges
If your dry layout reveals that one side of the wall ends with a tile sliver less than half a tile wide, shift your center reference point left or right by half a tile width. This distributes the cut evenly on both sides, giving the finished installation a much more intentional look.
Installing the Tiles Step by Step
Once your wall is prepared and your layout is mapped, installation moves quickly. Work from your center reference point outward toward the edges.
- Peel and position. Remove the backing from one tile and align it carefully with your reference line. Peel-and-stick adhesive grips fast — repositioning is possible for only a few seconds on most products. Take your time on placement.
- Press firmly. Use a credit card, grout float, or the flat of your hand to press from the center of the tile outward, working out any air bubbles. Apply firm, even pressure across the entire surface.
- Continue row by row. Work one row at a time, checking periodically against your level line. Small misalignments compound quickly, so verify level after every three to four tiles.
- Cut edge and outlet tiles. Mark cut lines with a pencil and a straightedge. A sharp utility knife scores and snaps most vinyl tiles cleanly. For outlet cutouts, measure carefully and make incremental cuts rather than one large incision.
- Apply pressure and let cure. Once all tiles are up, go over the entire surface again with firm hand pressure. Most adhesives reach full bond strength after 24–72 hours. Avoid scrubbing or steaming the surface during this curing window.
Finishing Touches and Long-Term Care
A few final steps take the installation from good to polished:
- Edge trim. Where the backsplash meets the wall at an open edge, a thin strip of bullnose trim or a bead of paintable caulk provides a clean termination and prevents moisture from working behind the tile at corners.
- Outlet covers. Reinstall outlet and switch covers after the adhesive has cured. This neatly conceals any rough cuts around the boxes.
- Routine cleaning. Clean the backsplash with a damp cloth and a mild, non-abrasive cleaner. Avoid prolonged exposure to standing water along the bottom edge where the tile meets the countertop, and caulk that seam if needed.
- Watch for lifting edges. In humid kitchens, corners may lift over time. A small amount of clear construction adhesive applied with a toothpick and held with painter's tape overnight usually resolves this.
Level / Bubble Level
A basic bubble level (or a free smartphone level app) is essential for drawing your horizontal reference line. Even a short 24-inch level keeps rows straight across an entire wall.
Kitchen Backsplash Layout Planner
An online tile calculator lets you enter your wall dimensions and tile size to estimate how many tiles you need, including a waste allowance for edge cuts.
DIY Backsplash Community Forum
Home improvement forums and subreddits dedicated to DIY tiling are excellent for seeing real-world before-and-after results and getting advice on specific wall conditions.
Peel-and-stick tile won't replace a fully tiled, professional-grade backsplash in every scenario — but for first-time renovators looking to build confidence and add visible impact, it's one of the most rewarding afternoon projects a homeowner can take on.
Frequently Asked Questions

Home Editorial Team
Home Editorial Team is the collective byline for our editorial team and contributor network. Articles published under this byline or an editorial pen name are researched, written, and reviewed according to our editorial standards for clarity, consistency, and independence before publication.
View author profile