
Tile vs. Luxury Vinyl Plank: Choosing the Right Floor for Wet Areas
Bathrooms, laundry rooms, and kitchens demand durable flooring. Compare tile and LVP on cost, durability, and DIY ease.
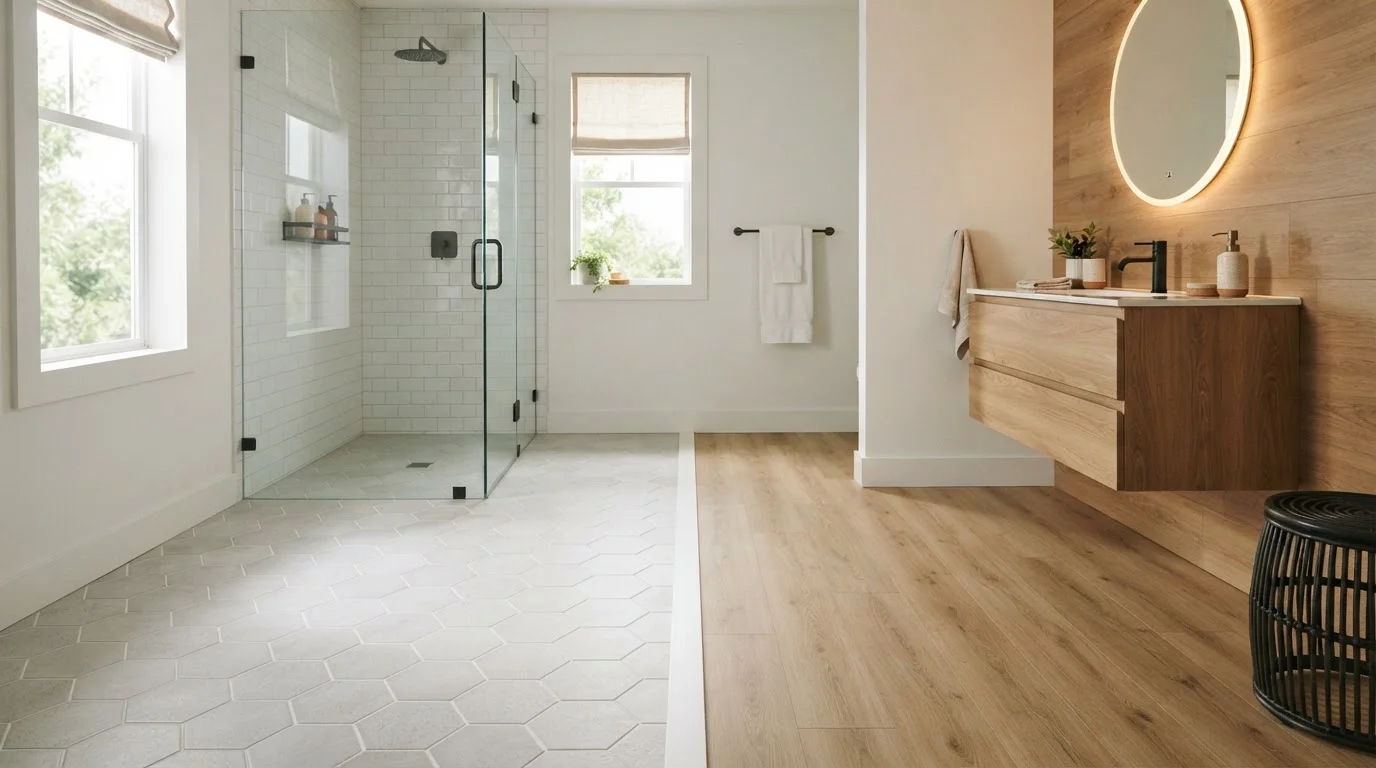
Photo: HorizonMetric.com | One Destination For Everyday Insights editorial
—— In This Article
Key Takeaways
- Tile offers unmatched durability and is fully waterproof, but requires skilled installation and a solid subfloor.
- LVP is 100% waterproof, easier to install yourself, and warmer underfoot than tile.
- Tile typically costs more upfront when professional installation is included; LVP lowers that barrier significantly.
- Grout lines in tile require regular sealing and cleaning to prevent mold in wet areas.
- LVP can be damaged by prolonged standing water at seams and is less tolerant of heavy point loads.
- Both options are suitable for bathrooms, laundry rooms, and kitchens when installed correctly.
Why Wet Areas Demand Special Flooring
Bathrooms, laundry rooms, and kitchens share one challenge no other room faces as consistently: standing water, splashes, and sustained humidity. Standard hardwood and laminate can buckle or swell under these conditions, which is why homeowners typically narrow their choices to tile or luxury vinyl plank (LVP). Both are waterproof or highly water-resistant in their own way — but they perform differently, install differently, and carry different long-term trade-offs.
Understanding those differences before you commit protects your subfloor investment and saves you from a costly redo. If you're also considering a kitchen backsplash update alongside your floor, see our beginner's guide to peel-and-stick backsplash tile for a complementary DIY project.
| Criterion | Ceramic / Porcelain Tile | Luxury Vinyl Plank (LVP) |
|---|---|---|
| Waterproofing | Tile is waterproof; grout must be sealed | 100% waterproof core; seams need attention |
| DIY Difficulty | Moderate to high — tools and skill required | Low to moderate — click-lock, no adhesive |
| Installation Time | Multiple days including cure time | Often completed in one day |
| Comfort Underfoot | Hard and cold without radiant heat | Warmer, slight give underfoot |
| Lifespan | 20–50+ years with maintenance | 10–25 years typical |
| Subfloor Requirement | Rigid, flat; backer board often needed | Must be flat within tight tolerance |
| Maintenance | Grout sealing every 1–3 years | Regular cleaning; avoid abrasive tools |
| Use in Shower Enclosures | Yes — standard and code-accepted | No — not suitable for direct shower use |
Waterproofing: How Each Material Handles Moisture
Ceramic and porcelain tile are themselves waterproof — water cannot penetrate a glazed tile surface. The vulnerability lies in the grout. Grout is porous and must be sealed periodically (generally every one to three years) to resist moisture intrusion. If grout cracks or goes unsealed, water can work its way beneath the tile and damage the subfloor over time. Proper installation over a cement backer board or waterproofing membrane is essential in wet areas.
LVP, by contrast, is waterproof through its entire core — most modern LVP uses a rigid WPC (wood plastic composite) or SPC (stone plastic composite) core that will not swell or warp when wet. However, water that seeps through seams and sits beneath the planks can still damage the subfloor and promote mold growth. Proper seam sealing and prompt cleanup of pooled water remain important habits even with LVP.
~95%
Of LVP products are fully waterproof by core
Most contemporary LVP uses WPC or SPC cores, which do not absorb water, according to general industry product specifications.
1–3 years
Recommended grout resealing interval
Tile industry guidance generally recommends resealing grout in wet areas every one to three years to maintain moisture resistance.
30–50%
Potential labor cost savings with DIY LVP
Because LVP requires no adhesive or special tools, homeowners who self-install can avoid a substantial portion of total project cost compared to professional tile work.
Installation: What Each Project Actually Requires
Tile installation is a multi-day process. It involves preparing a flat, solid subfloor (often adding cement backer board), mixing and spreading mortar or tile adhesive, laying each tile with proper spacing, allowing cure time, then applying and sealing grout. Cutting tiles requires a wet saw or snap cutter. Many homeowners hire a professional for tile work, particularly in bathrooms where precision around fixtures is critical. Permits are not typically required for floor tile replacement, but it's always worth confirming local building codes before starting.
LVP with a click-lock system is a genuine DIY project for most homeowners with basic tool skills. Planks float over the existing subfloor without adhesive, snap together, and can be cut with a utility knife or a simple flooring cutter. A full bathroom floor can often be completed in a single day. One limitation: LVP requires a subfloor that is flat to within a very small tolerance (commonly 3/16 inch over 10 feet) — high spots or dips must be addressed first.
For more context on how flooring types compare across different conditions, our engineered hardwood vs. solid hardwood comparison covers related subfloor and climate considerations.
Cost, Comfort, and Long-Term Value
Material costs for both options vary widely by style and quality. As a general range, basic ceramic tile can be found at lower price points, while large-format or decorative porcelain commands a premium. LVP similarly ranges from entry-level to high-end, with thicker wear layers and attached underlayment increasing cost. The larger cost difference typically appears in installation: professional tile installation adds significant labor, while LVP allows most homeowners to eliminate that expense entirely.
On comfort, LVP wins for everyday livability. Tile holds the temperature of the room, which means cold mornings feel noticeably colder underfoot. LVP's composite core retains some warmth and has slight underfoot give, which many people prefer for long periods of standing. Tile, however, is compatible with in-floor radiant heating systems, which can offset its cold-surface disadvantage if that's already part of your setup.
Radiant Heat Compatibility
If your bathroom already has or is planned for in-floor radiant heating, ceramic and porcelain tile are the most compatible choice — they conduct and hold heat efficiently. Many LVP products have temperature limitations from the manufacturer that make them unsuitable over radiant systems. Always check the manufacturer's specifications before installing LVP over any heated subfloor.
Durability-wise, well-maintained tile can last the lifetime of the home. LVP is durable but more susceptible to gouges from heavy furniture and degradation from prolonged UV exposure near sunny windows.

Home Editorial Team
Home Editorial Team is the collective byline for our editorial team and contributor network. Articles published under this byline or an editorial pen name are researched, written, and reviewed according to our editorial standards for clarity, consistency, and independence before publication.
View author profile