
Why Caulk Fails—and What to Do Before It Does
Cracking, peeling, or moldy caulk is a common homeowner headache. Understand the causes and how to re-caulk correctly.
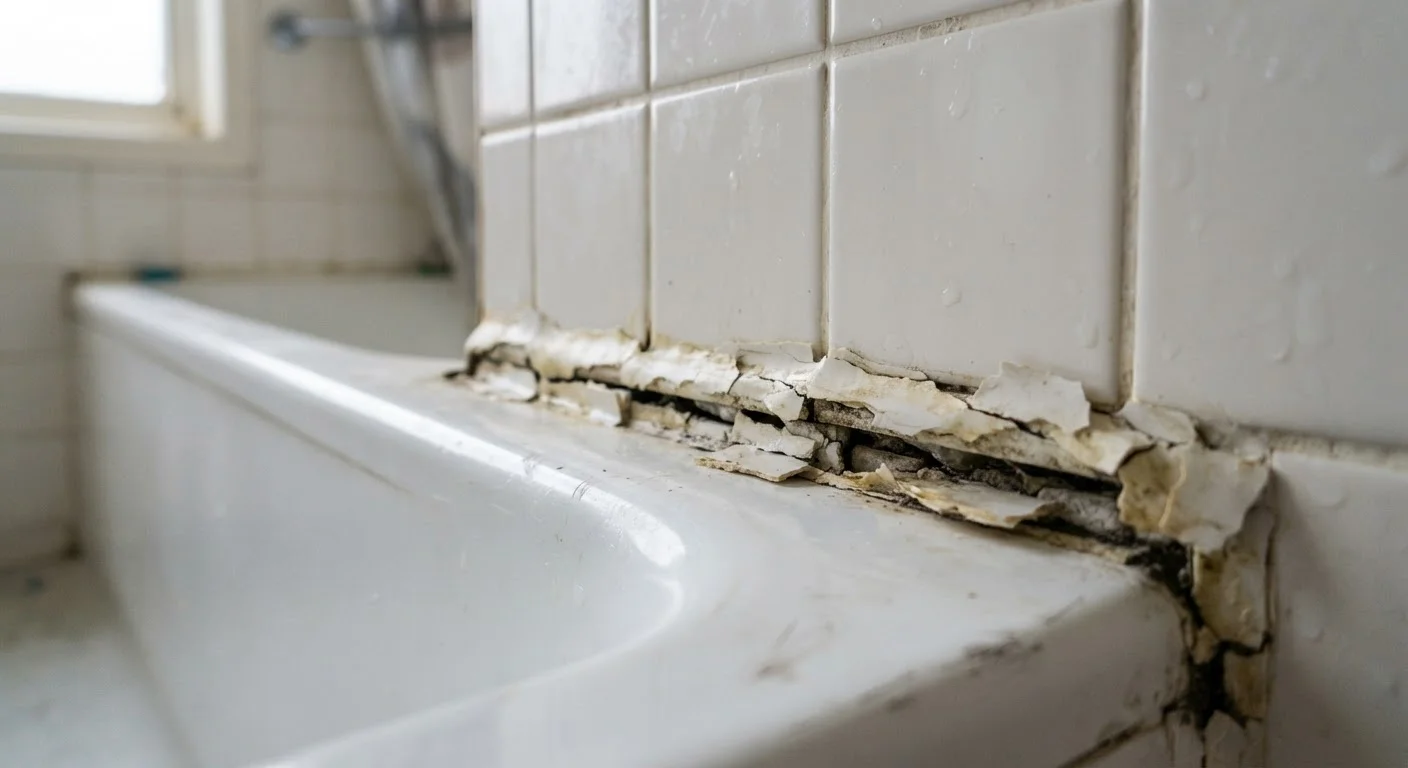
Photo: HorizonMetric.com | One Destination For Everyday Insights editorial
—— In This Article
Key Takeaways
- Surface prep is the single most important factor in how long caulk lasts.
- Using the wrong caulk type for the location almost guarantees early failure.
- Caulk applied over old, damaged caulk will fail faster than a fresh application.
- Most caulk joints need re-caulking every three to seven years, depending on conditions.
- Allowing full cure time before exposing caulk to water prevents premature peeling.
Why Caulk Fails in the First Place
Caulk is a flexible sealant designed to bridge small gaps between surfaces that move slightly, expand with temperature, or where different materials meet — like where a bathtub meets tile, or where a countertop meets a backsplash. Unlike grout, which is rigid, caulk is meant to accommodate that movement. When it fails, it usually comes down to one of three things: the wrong product was used, the surface wasn't properly prepared, or the joint wasn't given time to cure.
Understanding these root causes is key to getting a repair that actually lasts. Cosmetic re-caulking is straightforward, but it only holds if you treat the underlying cause. If you're unsure whether you need caulk, grout, or sealant in a specific spot, this guide on bathroom caulking, grout, and sealant explains the differences clearly.
3–7 years
Typical lifespan of bathroom caulk
Industry guidance suggests silicone and siliconized latex caulks in wet areas generally require replacement every three to seven years, depending on product quality and maintenance.
80%
Of caulk failures linked to poor surface prep
Adhesion failure from inadequate surface preparation is widely cited by building contractors as the leading cause of premature caulk breakdown.
Common Caulking Mistakes — and How to Avoid Them
Most caulk failures trace back to a predictable set of errors. Whether you're tackling a bathroom re-caulk for the first time or redoing a job that didn't hold, avoiding these missteps will significantly extend the life of your work.
Skipping surface cleaning and drying before application.
Why it happens: Homeowners often caulk immediately after noticing a gap, without allowing the surface to fully dry or removing soap scum, mildew, or grease.
Using an all-purpose or interior caulk in wet, high-movement areas.
Why it happens: All-purpose caulk is inexpensive and easy to find, so many DIYers reach for it regardless of where it will be used.
Failing to remove all old caulk before re-caulking.
Why it happens: Removing old caulk is tedious, and it's tempting to simply smooth a new bead on top of a cracked existing one.
Applying caulk in a cold or poorly ventilated space.
Why it happens: Temperature and airflow are easy to overlook, especially in bathrooms where windows are often kept closed.
Not allowing adequate cure time before exposing the joint to water.
Why it happens: Cure time instructions are often overlooked, and homeowners assume the caulk is ready once it looks dry to the touch.
Don't Caulk Over Old Caulk
Applying fresh caulk directly over an old, failing bead is one of the most common re-caulking mistakes. The new layer has nothing solid to bond to, and it will peel away just as quickly — or faster. Always remove old caulk completely and clean the substrate before applying a fresh bead.
How to Re-Caulk the Right Way
Once you've removed the old caulk, cleaned the joint, and let it dry thoroughly, applying new caulk is relatively straightforward. Cut the caulk tube tip at a 45-degree angle to match the width of your joint — smaller is better, since you can always add more. Apply steady, even pressure as you pull the gun along the joint in one smooth pass. Immediately smooth the bead with a dampened finger or a caulk finishing tool to press it into the joint and create a clean edge.
Work in manageable sections so the caulk doesn't begin skinning before you can tool it. Once finished, leave the area undisturbed for the full cure period listed on the product packaging. Resist the urge to test it early.
Moisture Damage Can Hide Behind Failed Caulk
A failed caulk joint isn't just a cosmetic problem. Water that seeps behind tile or into wall cavities can cause mold growth, rot, and structural damage that's expensive to repair. If you notice soft drywall, staining, or a musty smell near a failed caulk line, consult a professional before re-caulking to rule out existing water damage.
Re-caulking is a genuinely manageable DIY task, but it rewards patience more than speed. Take the prep seriously, use the right product, and the results can last for years.

Home Editorial Team
Home Editorial Team is the collective byline for our editorial team and contributor network. Articles published under this byline or an editorial pen name are researched, written, and reviewed according to our editorial standards for clarity, consistency, and independence before publication.
View author profile