
Composting at Home: Turning Kitchen Scraps Into Garden Gold
Learn how composting works, what to add (and skip), and how to keep a backyard bin from smelling — even in a small space.
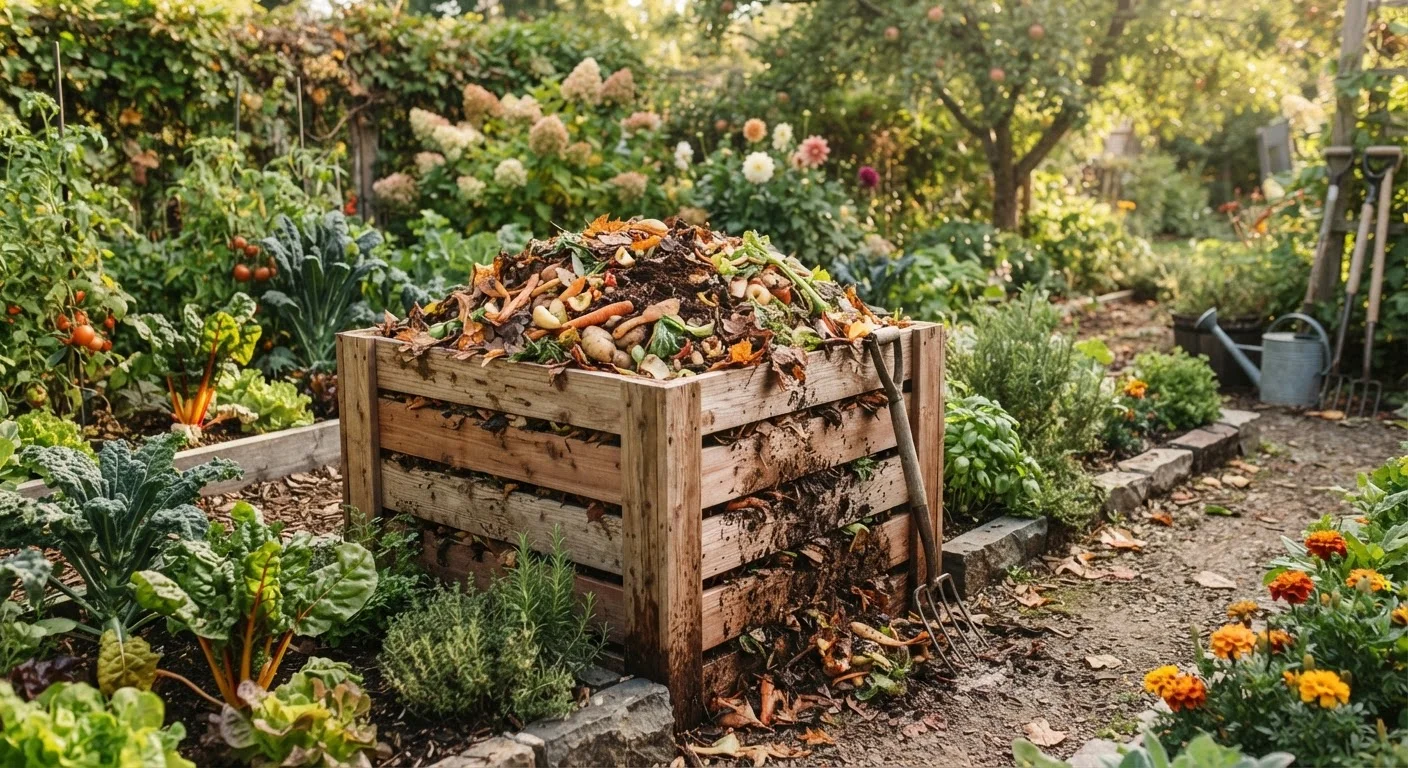
Photo: HorizonMetric.com | One Destination For Everyday Insights editorial
—— In This Article
Key Takeaways
- Composting balances 'green' nitrogen-rich materials with 'brown' carbon-rich materials at roughly a 1:2 ratio.
- Most kitchen scraps — fruit peels, coffee grounds, vegetable trimmings — are ideal compost ingredients.
- Meat, dairy, and oily foods should stay out of a home compost bin to prevent odors and pests.
- Turning your pile every one to two weeks speeds decomposition and prevents unpleasant smells.
- Finished compost is ready when it smells earthy, looks dark, and has a crumbly texture.
- Even small spaces can support composting with a sealed tumbler or indoor worm bin.
Why Composting Is Worth the Effort
Composting is the process of allowing organic material — food scraps, yard waste, cardboard — to break down into a dark, crumbly amendment that improves nearly any soil. When worked into garden beds, finished compost feeds beneficial microbes, improves drainage in clay soils, and helps sandy soils retain moisture. Think of it as a slow-release, whole-food diet for your garden rather than a quick nutrient hit. For a deeper look at what's happening beneath the surface, see our guide to soil health underground.
Beyond the garden benefits, composting diverts food scraps from landfills, where organic matter breaks down without oxygen and produces methane — a potent greenhouse gas. Even a modest household bin can meaningfully reduce what ends up in the trash each week.
Coffee Grounds Are a Compost Superstar
Coffee grounds are nitrogen-rich, slightly acidic, and break down readily — making them one of the most valuable kitchen scraps you can add. Paper filters can go in too. Many coffee shops will also give away used grounds for free if you ask, which lets you bulk up your pile quickly.
What to Add — and What to Leave Out
Successful composting depends on balancing two categories of material:
- Greens (nitrogen-rich): Fruit and vegetable scraps, coffee grounds and paper filters, tea bags (paper only), fresh grass clippings, and plant trimmings.
- Browns (carbon-rich): Dry leaves, cardboard torn into small pieces, paper bags, straw, and woody plant stems.
Aim for roughly one part greens to two parts browns by volume. Too many greens and the pile turns slimy and smells; too many browns and decomposition stalls.
Keep These Out of Your Bin
Avoid adding meat, fish, bones, dairy products, oily or cooked foods, pet waste, or diseased plants. These materials either attract rodents and other pests, create persistent odors, or introduce pathogens that home composting temperatures may not fully neutralize. Stick to raw plant-based kitchen scraps and yard waste for reliable, trouble-free results.
If you are weighing whether to supplement your compost with store-bought inputs, our comparison of organic and synthetic fertilizers can help you think through the trade-offs.
Choosing the Right Bin for Your Space
Your composting setup should match your space, lifestyle, and volume of scraps:
Open compost bin or DIY wire cage
Ideal for larger yards with plenty of yard waste; allows good airflow and easy access for turning.
Tumbler composter
A sealed, rotating drum that keeps pests out and speeds decomposition — well suited for suburban yards with limited space.
Worm bin (vermicomposter)
Uses red wiggler worms to break down scraps indoors; perfect for apartments or homes without outdoor space.
Garden fork or compost aerator
Used to turn and aerate the pile, which speeds decomposition and prevents odors.
Countertop scrap container
Holds daily kitchen scraps between trips to the outdoor bin, keeping the process convenient.
Not sure which approach fits your yard? Our overview of gardening methods for every space walks through the full range of options.
Step-by-Step: Starting and Maintaining Your Compost Bin
Choose and position your bin
Place your bin or designated pile on bare soil or grass — not on concrete — so worms and beneficial organisms can enter from below. Choose a spot with partial shade to help retain moisture, ideally within easy reach of your kitchen door so adding scraps stays convenient.
Build your base layer
Start with a 4- to 6-inch layer of coarse browns — small woody twigs, straw, or shredded cardboard — directly on the ground. This base promotes airflow from underneath and helps prevent the pile from becoming waterlogged.
Add greens and browns in layers
Add kitchen scraps and other green materials in a layer roughly 2 to 3 inches thick, then cover with a layer of browns approximately twice as deep. Continue alternating layers each time you add material. Bury fresh food scraps in the middle of the pile rather than leaving them exposed on top.
Maintain moisture
Check moisture levels weekly. The pile should feel like a damp sponge — moist throughout but not dripping. In dry climates or summer heat, you may need to water lightly every few days. In rainy periods, cover the bin or add extra browns to absorb excess moisture.
Turn the pile regularly
Use a garden fork or compost aerator to turn the pile every one to two weeks. Turning moves cooler outer material toward the hot, active center and reintroduces oxygen — both of which accelerate decomposition. More frequent turning means faster finished compost.
Harvest and use your finished compost
Compost is ready when the original materials are no longer recognizable, the pile has shrunk to roughly half its original volume, and it smells clean and earthy — similar to forest soil. This typically takes two to six months depending on temperature, pile size, and how often you turn it. Sift out any large unfinished pieces and return them to an active pile. Work finished compost into garden beds at a depth of 2 to 4 inches, or use it as a top dressing around established plants.
Troubleshooting Common Problems
Even well-managed bins run into occasional issues. Here's how to diagnose and fix the most common ones:
- Pile smells like ammonia or rotten eggs
- Too many greens or too much moisture. Add a generous layer of dry browns — shredded cardboard or dry leaves — and turn the pile to introduce air.
- Pile is dry and not breaking down
- Not enough moisture or too many browns. Lightly water the pile and add fresh green material. The pile should feel like a wrung-out sponge — damp but not dripping.
- Pests are getting in
- Avoid adding cooked food, meat, or dairy. Use a bin with a tight-fitting lid and, if needed, bury fresh scraps in the center of the pile rather than leaving them on top.
- Nothing seems to be happening
- The pile may be too small (aim for at least 3×3×3 feet), too dry, or missing nitrogen. Add more greens, water lightly, and turn to mix.
Don't Rush Compost Into the Garden
Applying compost that hasn't fully finished breaking down can temporarily rob plants of nitrogen as soil microbes continue the decomposition process — the opposite of what you want. Always check that compost is dark, crumbly, and smells earthy before working it into planting areas. When in doubt, let it cure for an extra few weeks.

Home Editorial Team
Home Editorial Team is the collective byline for our editorial team and contributor network. Articles published under this byline or an editorial pen name are researched, written, and reviewed according to our editorial standards for clarity, consistency, and independence before publication.
View author profile