
Patch Testing a New Skincare Product: A Practical Walkthrough
Introducing a new product without patch testing is one of the fastest ways to trigger a reaction. Here's a simple, step-by-step method to do it right.
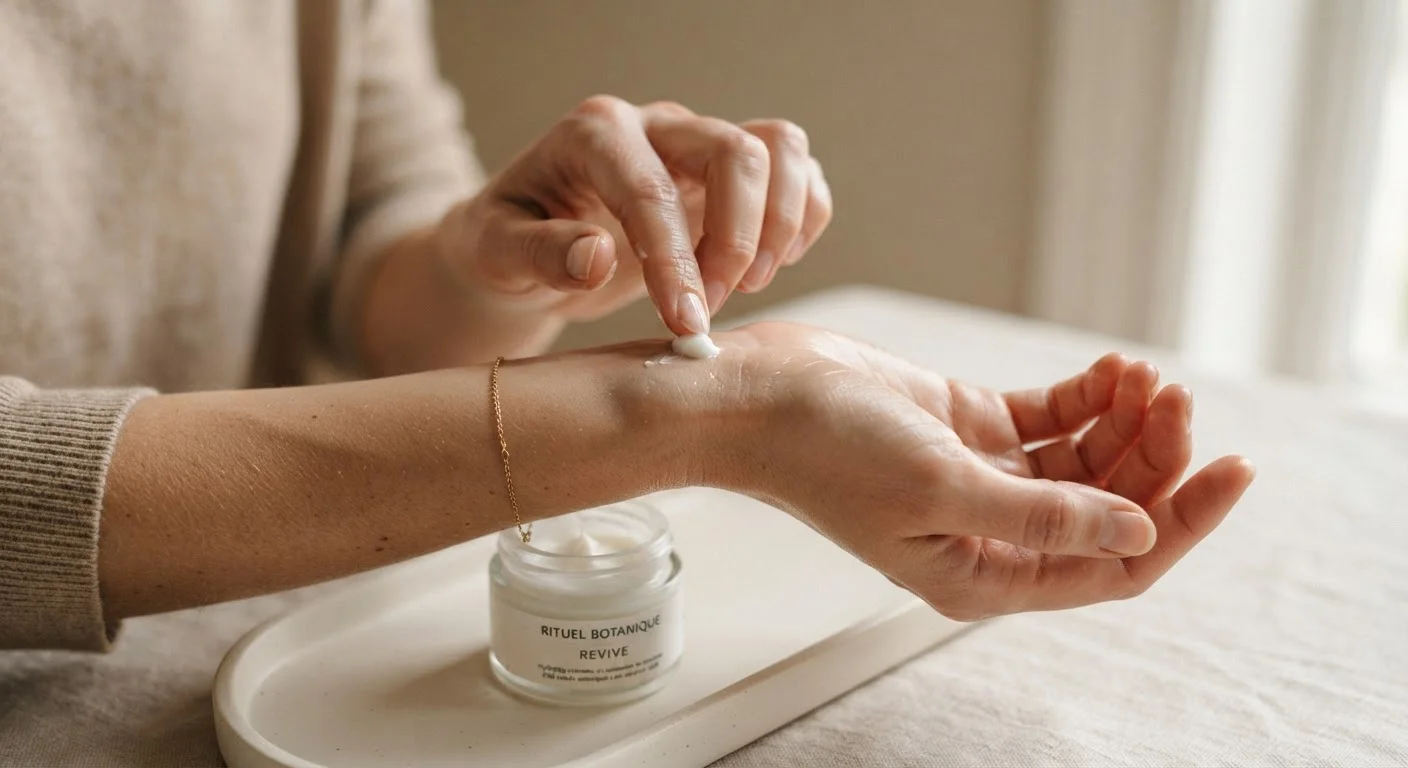
Photo: HorizonMetric.com | One Destination For Everyday Insights editorial
—— In This Article
Key Takeaways
- Patch testing before full application helps identify potential reactions before they spread across your face.
- The inner arm is a reliable test site — sensitive enough to show a response without being too conspicuous.
- Wait at least 24–48 hours before checking results for slower-developing reactions.
- A negative patch test reduces risk but does not guarantee your face won't react differently.
- If redness, swelling, or itching appears, stop use and consult a dermatologist.
Why Patch Testing Is Worth the Extra Step
Introducing a new skincare product without testing it first is one of the most common ways people end up with unexpected redness, hives, or breakouts. Skin reactions don't always come from "harsh" ingredients — even gentle formulas can trigger a response depending on your individual skin chemistry. Patch testing is a simple method that lets you observe how your skin responds to a product in a controlled, low-stakes way before applying it to your entire face.
It's especially important when adding active ingredients like retinoids, exfoliating acids, or vitamin C serums into your routine. If you're just getting started, the skincare basics guide covers skin types and product essentials that give this practice useful context. And if you're curious about what's actually in a product before you test it, reading a skincare label can help you spot potential irritants in the ingredient list.
What you will need
Step-by-Step: How to Patch Test Correctly
The process is straightforward, but the details — timing, site selection, and what to look for — matter. Follow these steps carefully to get a reliable result.
Choose your test site
The inner forearm — the soft skin on the inside of your elbow crease — is the standard patch test location. It's sensitive enough to register a reaction but covered enough that any temporary redness won't be conspicuous. Avoid broken, sunburned, or already-irritated skin.
Clean and dry the area
Gently wash the test site with a mild, fragrance-free cleanser and pat it completely dry. Oils, existing products, or moisture can interfere with how your skin absorbs and responds to the new product.
Apply a small amount of the product
Using a clean fingertip or cotton swab, apply a pea-sized amount — or a thin layer equivalent — to a quarter-sized area on the inner arm. Apply it the same way you would normally use the product (e.g., a serum should be patted in, a moisturizer massaged gently).
Leave it undisturbed
Allow the product to sit on the test site without washing it off. Avoid rubbing the area or getting it wet. If you're concerned about accidental removal, a hypoallergenic bandage can help keep the site protected.
Check at 24 hours — and again at 48
Check the site after 24 hours for any visible changes: redness, swelling, raised bumps, flaking, or itching. If nothing has appeared, check again at 48 hours. Some reactions — particularly those involving fragrances or preservatives — develop slowly and won't show up in the first day.
Test One Product at a Time
If you're introducing several new products, test them one at a time with at least a few days between each. Testing multiple products simultaneously makes it nearly impossible to identify which one caused a reaction. This is particularly relevant when building a new routine, as described in our sensitive skin routines guide.
Interpreting Results and What to Do Next
After the waiting period, examine the test site in good natural lighting. No reaction — no redness, itching, bumps, or swelling — is a positive sign and suggests the product is likely safe for broader use. Start by applying it to a small facial area for a few more days before incorporating it into your full routine.
If you notice mild redness or slight tingling that fades within an hour, consider whether the ingredient is known to cause a temporary flush (like niacin amide or some acids) — but err on the side of caution and hold off. Persistent redness, itching, raised skin, or any swelling are signals to stop use entirely and, if symptoms persist beyond 48 hours or are severe, consult a dermatologist.
Keep in mind: the inside of your arm is not identical to facial skin, which is thinner and more reactive. A clean patch test result reduces your risk considerably but is not an absolute guarantee. When you're ready to build the new product into your daily regimen, see our guide on building a morning skincare routine from scratch — and be mindful of layering order, which affects how products interact on skin.
Stop Use If a Reaction Occurs
If you experience persistent redness, itching, swelling, or any sensation that doesn't resolve within a few hours, stop using the product immediately. Do not attempt to push through a reaction hoping it will subside. If symptoms are severe, spread, or last longer than 48 hours, seek guidance from a licensed dermatologist or healthcare provider.
This article is for general informational purposes only and does not constitute medical or dermatological advice. If you experience a skin reaction or have concerns about a specific ingredient or condition, please consult a qualified healthcare professional.

Beauty Editorial Team
Beauty Editorial Team is the collective byline for our editorial team and contributor network. Articles published under this byline or an editorial pen name are researched, written, and reviewed according to our editorial standards for clarity, consistency, and independence before publication.
View author profile